Sailfish OS Notes
This page provides information about running Sailfish on your Gemini.
Contents
Setting up Sailfish OS
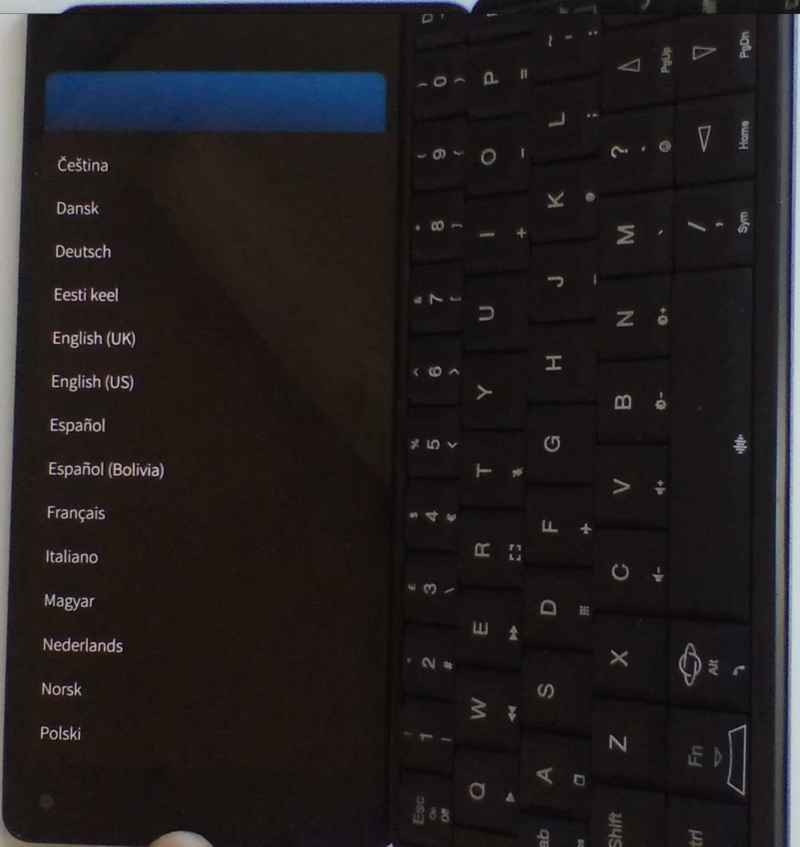
When setting up Sailfish OS for the very first time, the first few screens will be in portrait mode, as in the screenshot below:
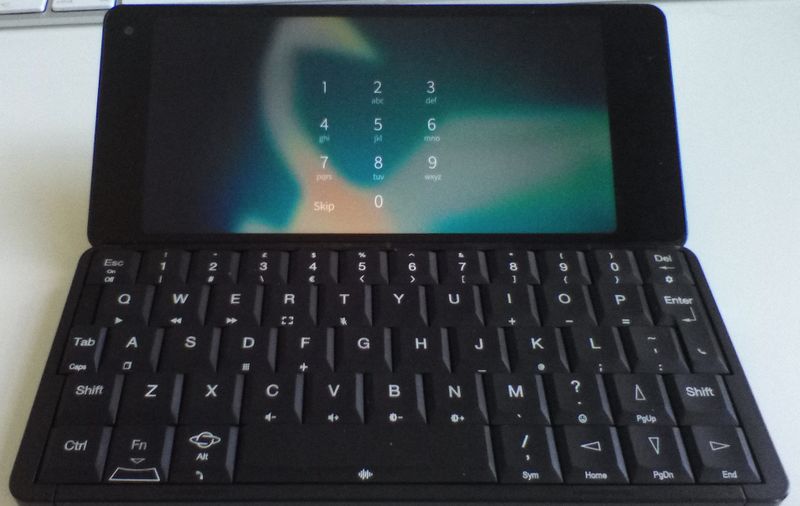
After the first few portrait screens, you will be able to experience Sailfish OS in landscape mode:
In case your system start directly with the PIN screen as in the picture above, please restart your machine as otherwise the setup configuration is known to not complete properly. If the problem persists, try re-flashing the linux and the sailfish_boot partition (either boot2 or boot3) only. It has been reported that reflashing the linux and sailfish_boot partition fixes the issue, we are investigating this.
Power key and Esc (On) key
On Sailfish, the Esc (On) key sends the escape key. To send a power key, use the key combination: Fn + Esc (On).
To power off the unit, press and hold Fn + Esc (On) for a few seconds until the poweroff menu appear on screen.
Known Bugs
- Sailfish OS is not yet available in the default Boot 1 position. This is due to a bug we found when the device is in charging mode. We are working on this!
-
The optional rear-facing camera currently displays the image rotated by 180 degrees in Sailfish OS, we are investigating the issue.The wrong orientation of the optional camera in Sailfish OS is now fixed. You can download the updated image using the partition tool, while the updated files are available here
Linux boot notes
The multi-boot mechanism works as follows.
Starting from a switched OFF Gemini, press the Esc (On) key to start the unit until the Gemini vibrates. Once you feel the vibration you can choose the boot mode by pressing the following key combination:
- Boot 1: This is the default booting option when no keys or buttons are pressed.
- Recovery Mode: Esc (On) is pressed. This will always boot into recovery mode.
- Boot 2: silver right-end side button is pressed.
- Boot 3: Both Esc(On) key and silver right-end side button are pressed at the same time
Keep the keys/buttons pressed until the screen turns ON.
Updating Android on a Android/Linux Gemini
While your Android-only Gemini can be updated with the over the air update, for an Android/Linux system you will have to update your device manually via FlashTool. It is important to note that in order to flash your customised Gemini you will need to have your associated Scatter file that you generated using the partition tool when flashing your unit.
Provided you have a copy of your scatter file, to update your Android you need to:
- Install FlashTool - refer to the Android Flashing Guide if needed
- Download a recent Gemini Android firmware from the Gemini Firmware page
- Unzip the Gemini firmware and copy your customised scatter file inside the firmware folder
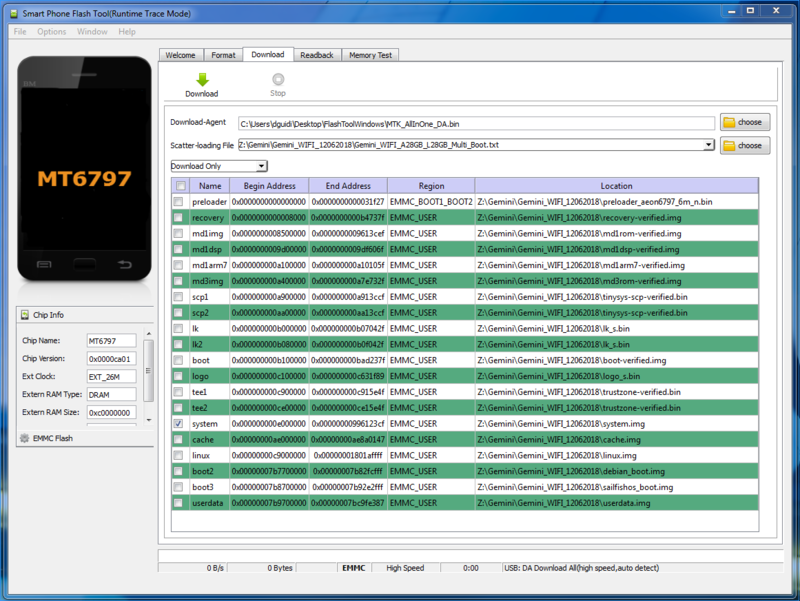
- Now, run the FlashTool application, load your customised scatter file, select the Download Only option in the drop down and make sure you select only the system partition as in the following screenshot:
- To start the flashing process, just click the big Download button, connect your Gemini to your PC and restart the Gemini. Once booting, the flash tool will detect the unit and will start flashing the device with the selected firmware.


