Contents
Android 8.1 manual upgrade for Gemini 4G (x25 and x27)
NOTE: Some users reported problems with Android 8.1 and it's currently recommended to use Android 7 for Gemini devices.
Android 8 can still be manually installed by using SP Flash Tool following this guide: Gemini Firmware.
The rest of this guide is now deprecated and left as reference only.
Please note this guide is for Gemini 4G devices only (both x25 and x27 models), not for Gemini WIFI devices.
The following guide will help you to install the Android 8.1 upgrade on your Gemini 4G, both x25 and x27 model. This guide is for an Android-only Gemini firmware. For multi-boot firmware, please see the Linux Flashing Guide together with the updated partition tool.
If you have trouble updating your Gemini using the over-the-air udpate mechanism you can follow the guide below to perform a manual upgrade.
IMPORTANT INFORMATION for users in Japan on the NTT DoCoMo network: we had some reports that the network is not detected by the Android 8 firmware. We are investigating - please wait to upgrade your Gemini until further information is provided
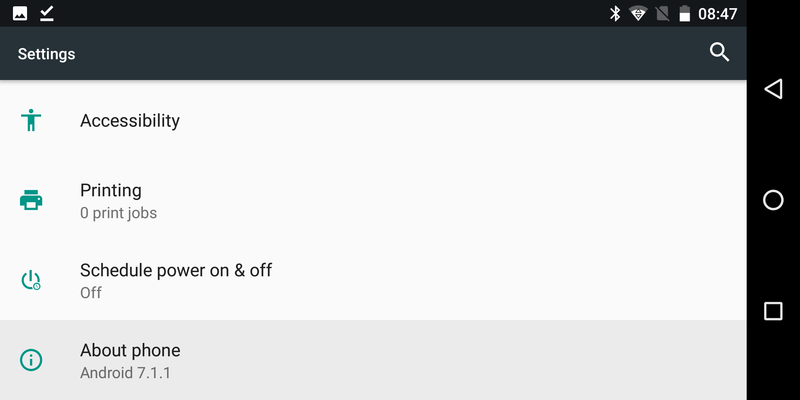
To proceed, start by running the Firmware Update application. Inside Settings, scroll to the bottom and tap on 'About phone'.
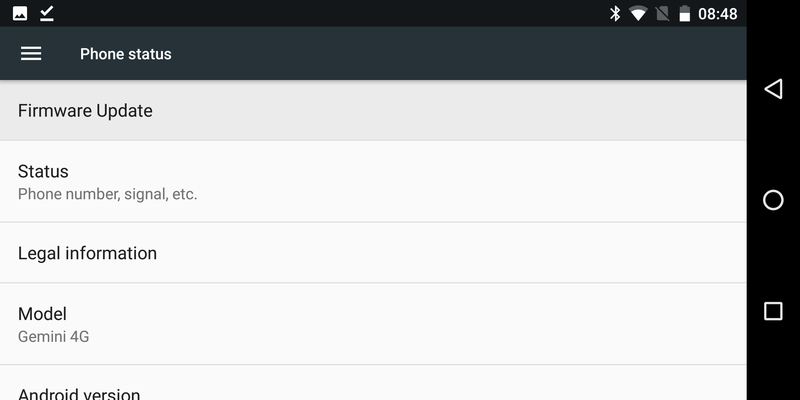
Next, tap on the first option 'Firmware Update'.
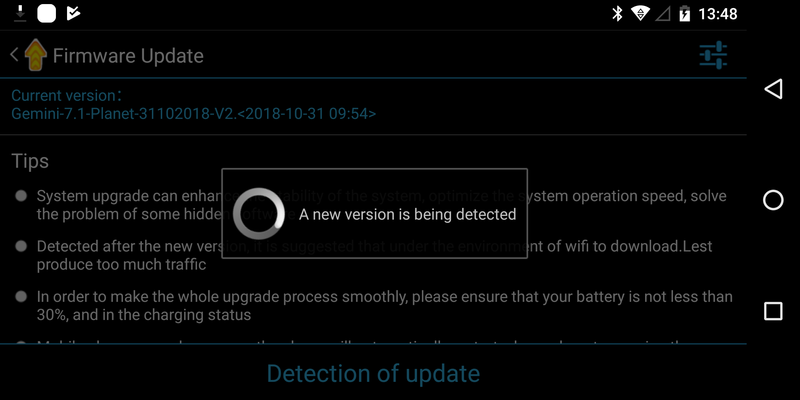
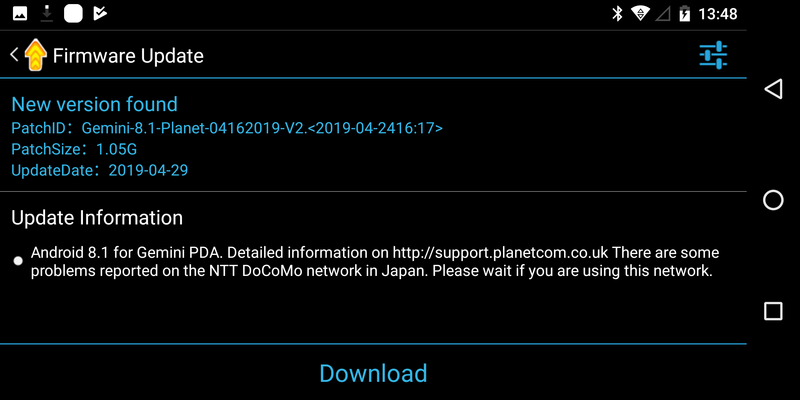
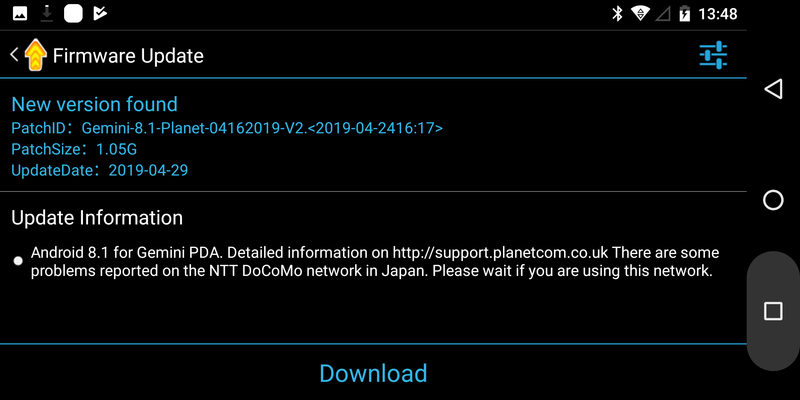
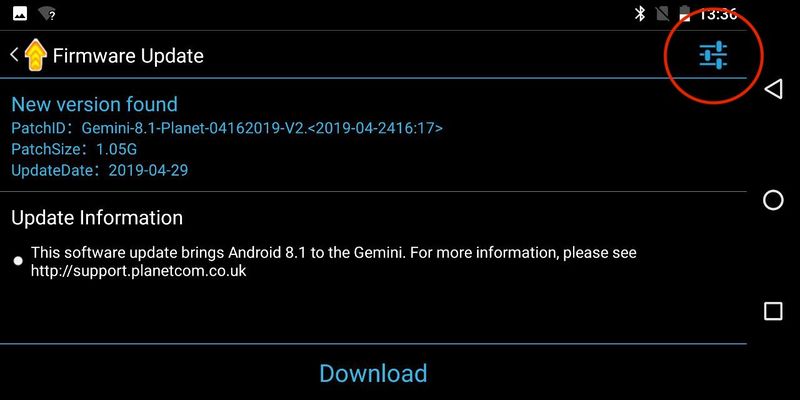
A new version should be detected, please make sure you are connected to a WIFI network.
By tapping on the Download button you will start the firmware update download. If the download completes successfully you will just need to tap on the 'Install Now' button to start the update process and then tap 'Firmware Update' to complete it. In case you have troubles downloading the update, please continue with the guide.
If your download stops and cannot complete successfully you can complete the process manually. To do that, first tap on the square button on the soft keys (bottom right) as in the picture below to bring up the task manager.
After that, close the Firmware Update by swiping it out of the list as in the following screenshot.
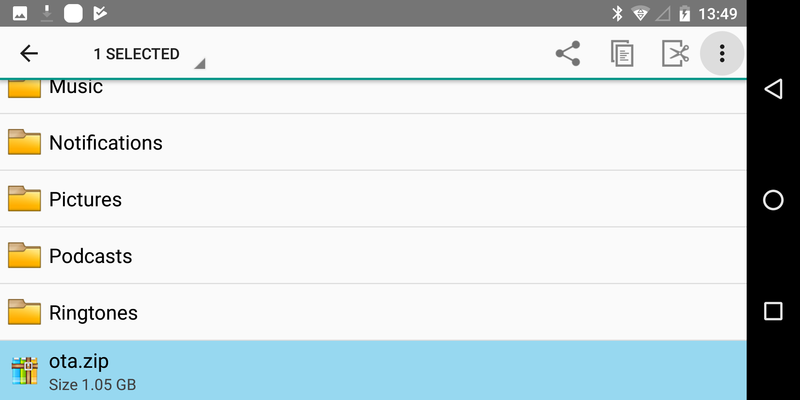
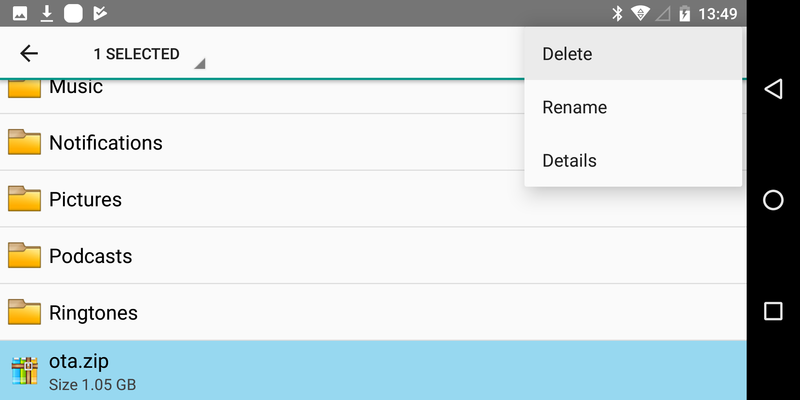
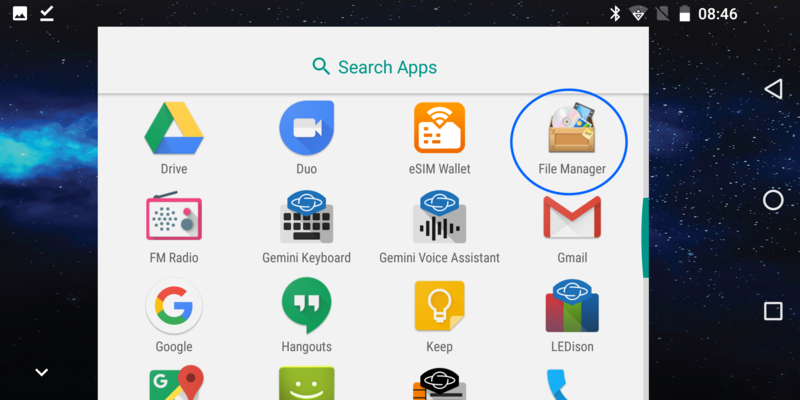
Now, run the File Manager application and look at the root folder in Internal Storage. You should see a file called ota.zip. Delete the file by selecting it with a long tap and tap and then using the Delete action on the menu that appears when tapping on the 3 dots button as in the following screenshots.
After that, you can download the firmware from a different location: http://support.planetcom.co.uk/download/Android8_4G/ota.zip. It's easier to download this archive directly from your Gemini, where you just need to open a browser and point it to the URL above. The file will be downloaded in your Download folder.
You can also download the file on a computer and copy it to your Gemini Download folder at a second stage.
Once the file is downloaded, open the File Manager application
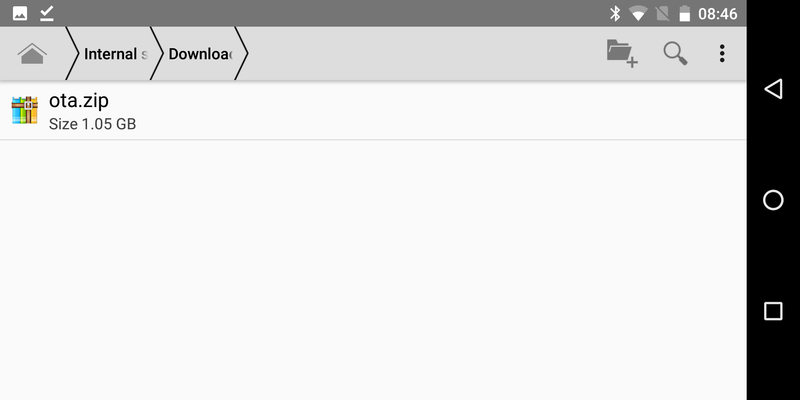
In File Manager, browse the Download folder inside the Internal Storage to reveal the downloaded ota.zip archive. Make sure that the file you just downloaded was not been saved with a different file name. In that case rename the file to ota.zip.
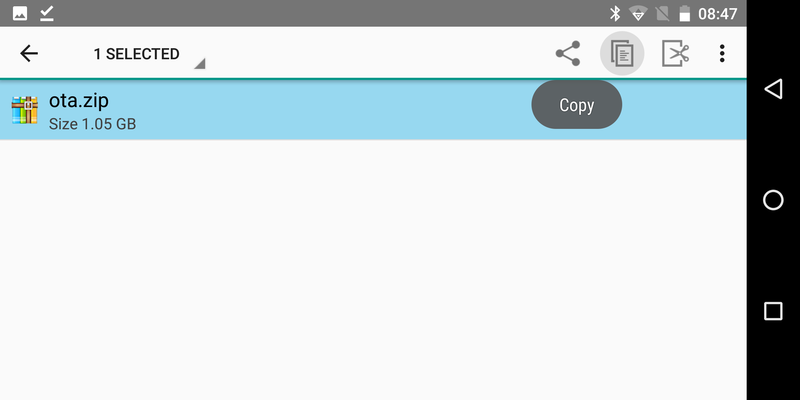
Next, we will have to copy the ota.zip file inside the root folder of the Internal Storage. To do that, simply long tap the ota.zip file to select the file and then use the copy icon that will appear once the file is selected, as in the following screenshot.
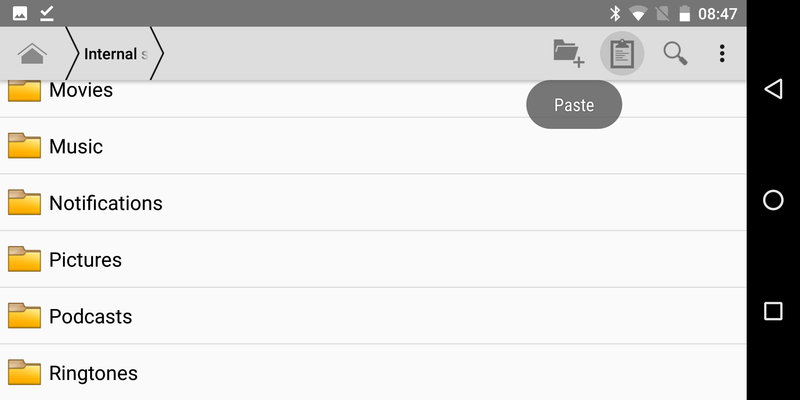
After that simply go back to the content of the root folder of Internal Storager.
Now, tap on the paste icon to paste the ota.zip file in the root folder.
Please note that if you already have a file called ota.zip, then the just copied file will be renamed with an extension. In that case, please remove the ota.zip file in the root folder of your Internal Storage and copy/paste the file again.
Now that we copied the update archive in the correct location, we need to start the update process. Inside Settings, scroll to the bottom and tap on 'About phone'.
Next, tap on the first option 'Firmware Update'.
Now, inside the Firmware Update application, tap on the settings icon, in the top right of the screen.
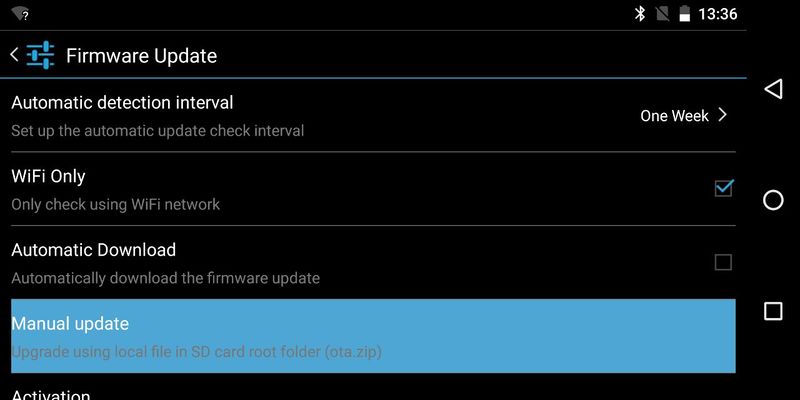
Inside settings, tap on Manual Update.
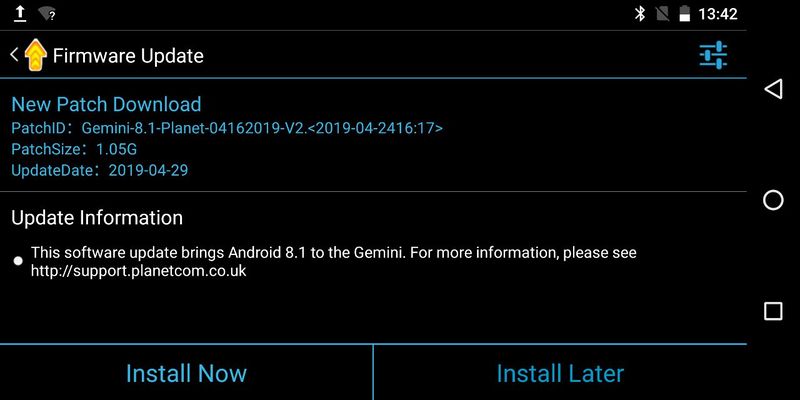
You should then be presented with a screen as in the screenshot below. Tap on 'Install Now' option on the left.
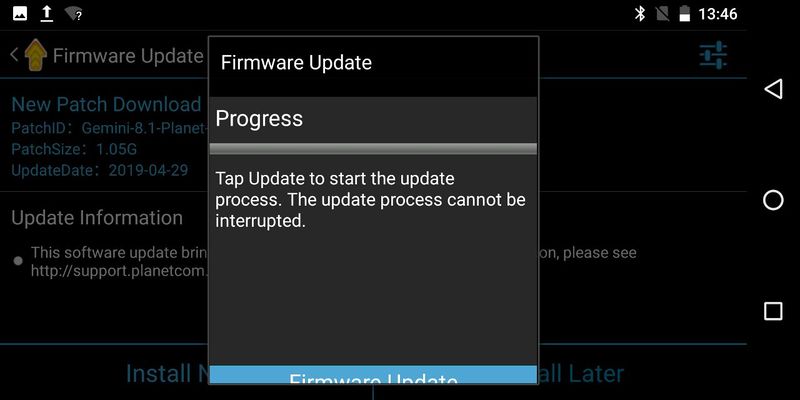
A confirmation dialog will then appear. By tapping on the 'Firmware Update' button you will start the update procedure. Note the the button might be not fully visible in landscape mode.
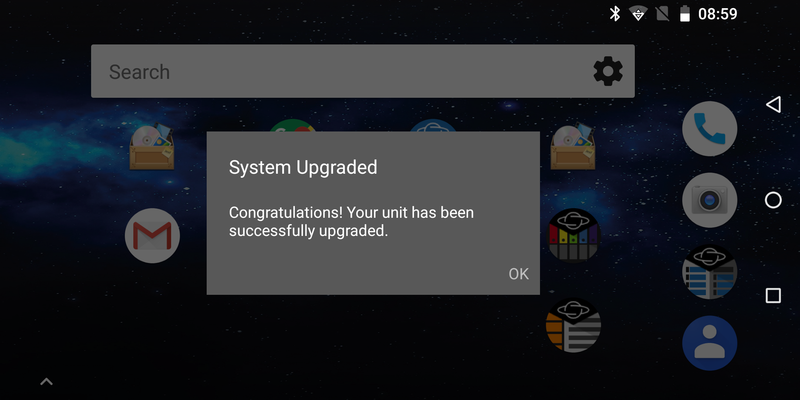
Your Gemini will then reboot and complete the update. Once the update is completed you will see the following message.
Please note that the Android 8.1 update might trigger a number of upgrade scripts and application updates. As a result your device might appear slower and feel hotter than usual for some time.
Notes on using your Gemini with Android 8.1
Re-starting and booting Android 8.1 for the first time
Android 8 security
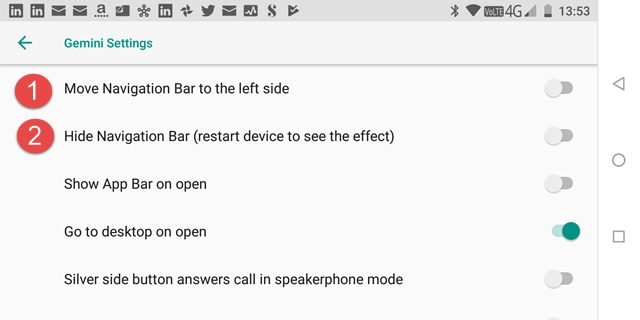
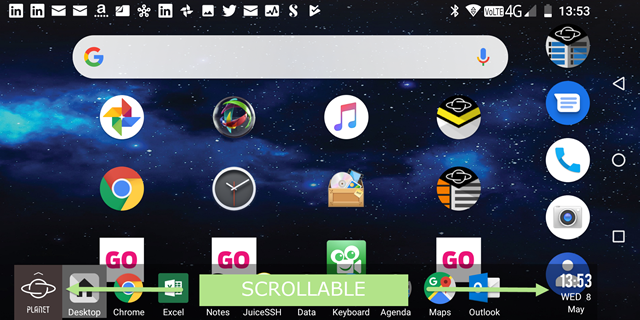
New features in Android 8
- Back - Esc (escape key)
- Desktop - Fn + d
- Apps - Fn + a
- Shift + Fn + R will rotate the screen from landscape to portrait and vice versa.
Reporting issues
Known Bugs
- LEDison has been reported to crash under some circumstancies - we will update the application in the Play Store soon
- It has been reported that sometimes the Micro SD may 'disappear' - we are investigating, but if this happens to you, just reboot your Gemini
- The Factory Reset does not work on Android 8 - we are investigating this


