

Configuration
From Planet Computers
Contents
Configuring the right keyboard layout for your Gemini
Selecting the right keyboard layout is sometimes complicated as you can have a number of active keyboard methods at the same time, and each keyboard method can be configured with a different layout.
To simplify this we updated our keyboard application adding a configuration process.
You should have automatically received an over the air update containing the latest keyboard version. If you are unsure, you can always check if an update is available:
- Press Fn + Del to go to Settings

- scroll down and tap on About Phone

- tap on "WirelessUpdate"

- tap on "Detection of update" (english translation will be improved in the next release). Follow the process to complete the firmware update.
Alternative you can also update the application manually:
- press the planet key to popup the application bar
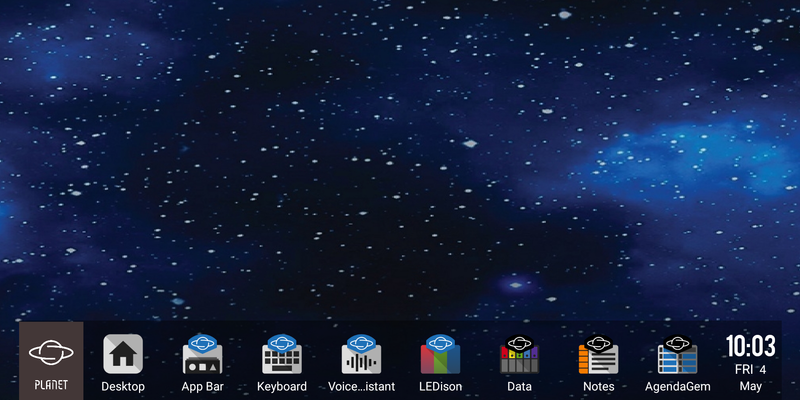

- tap on the planet icon
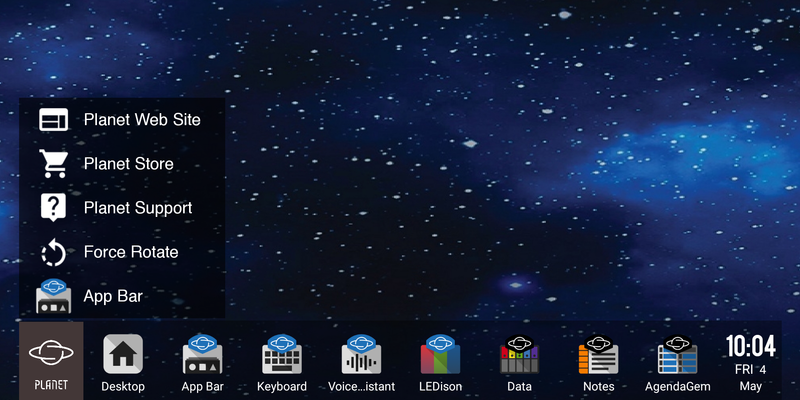

- select "Planet Support" option
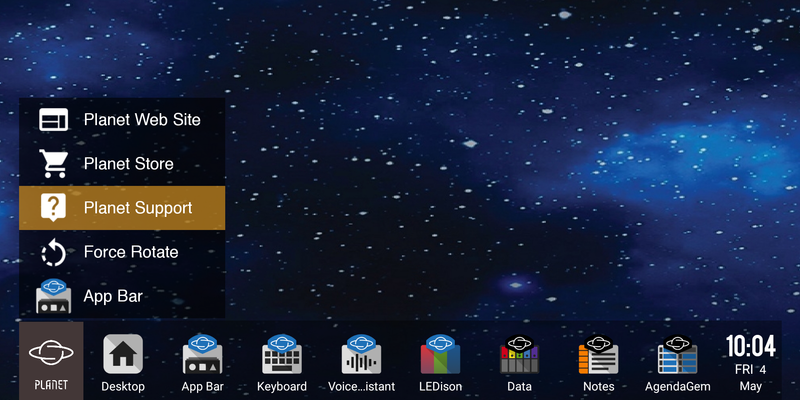

- A browser will bring you on the support webpage. Tap on the Keyboard application link to update the Gemini keyboard application.
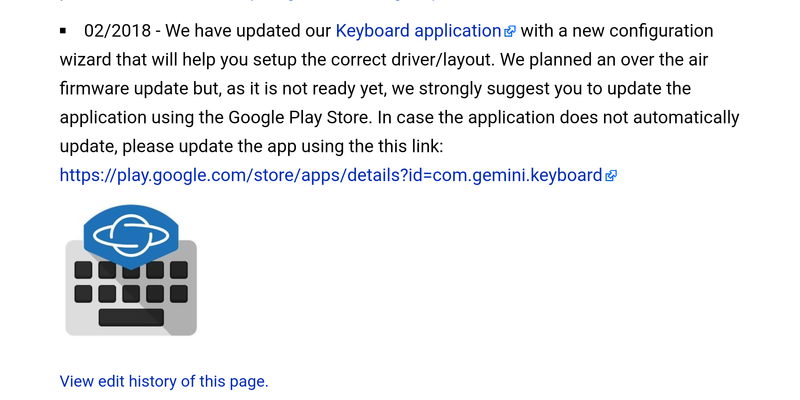
- Once the Gemini keyboard application is updated, run the app, select the Configure option and simply follow the on screen instructions.

Configuring the Gemini Keyboard Layout (US English example)
In this section we will see how to configure Gemini for a specific language and keyboard layout, in this case US English. Please make sure that you have the latest Gemini Keyboard app from the Google Play Store (see previous section).
- Run the Gemini keyboard application and select the "Configure" option.
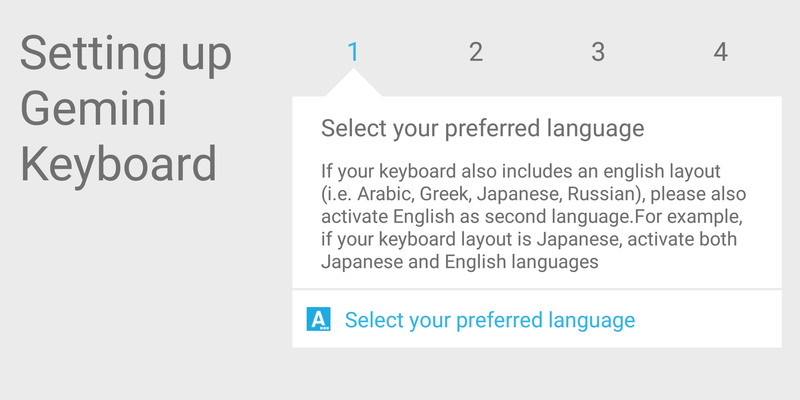
- Tap on "Select your preferred language" and select your language. Optionally, you can remove any other language. Your screen should look like the following
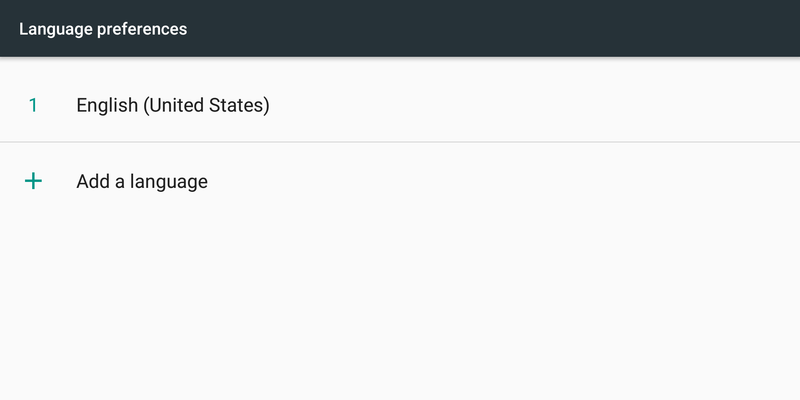
- Tap the back button to go back to the configurator
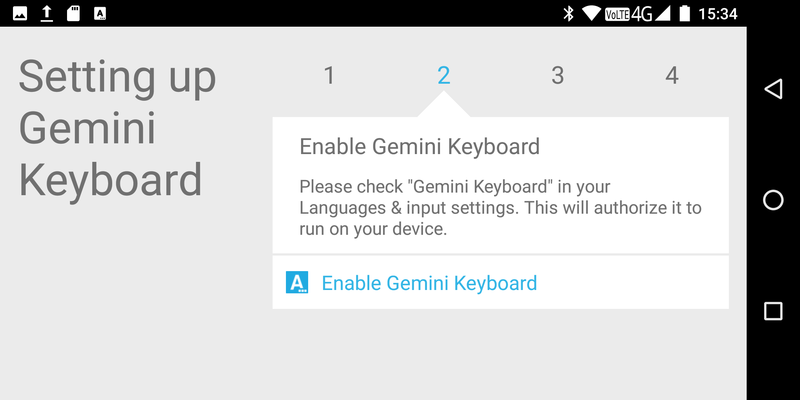
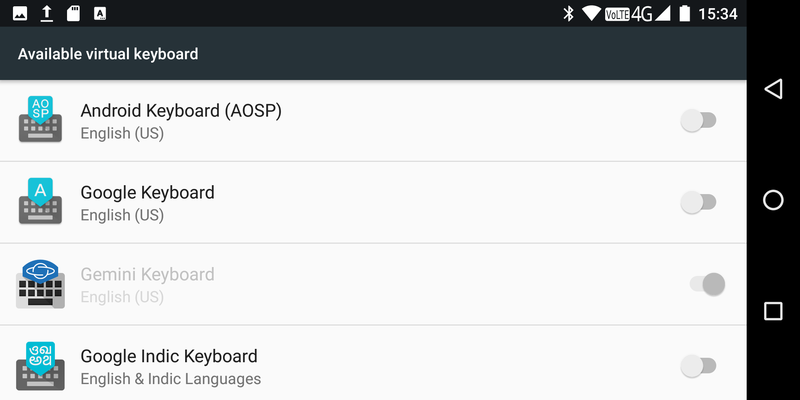
- Now tap on "Enable Gemini Keyboard". From the list that will popup you should choose the Gemini keyboard option. We strongly recommend to deselect all the other methods, as having multiple method enabled can easily confuse users. Your screen should look like the following
- Tap the back button to go back to the configurator
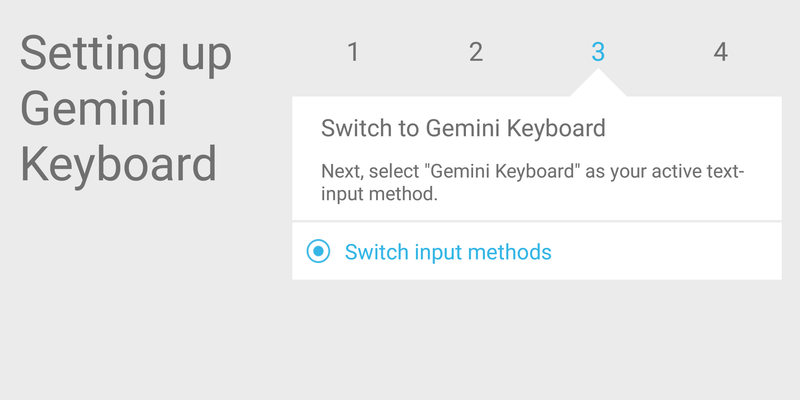
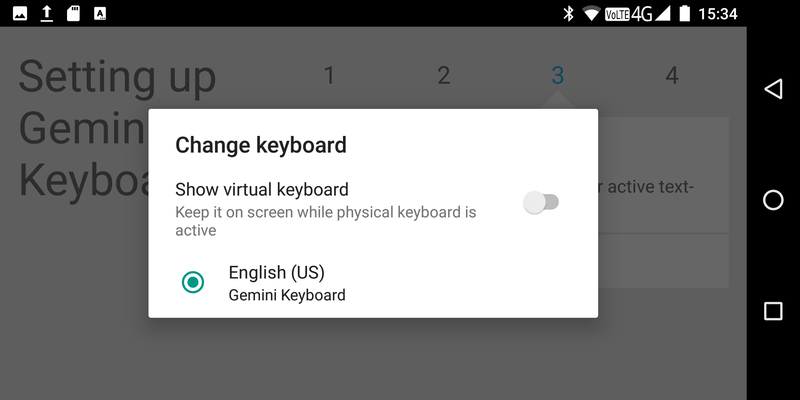
- Tap on "Switch input method" and select the Gemini Keybord input method. You should see only one method here. If you see multiple methods, start this process again and make sure you remove the other methods as explained in point 4.
- Tap the back button to go back to the configurator
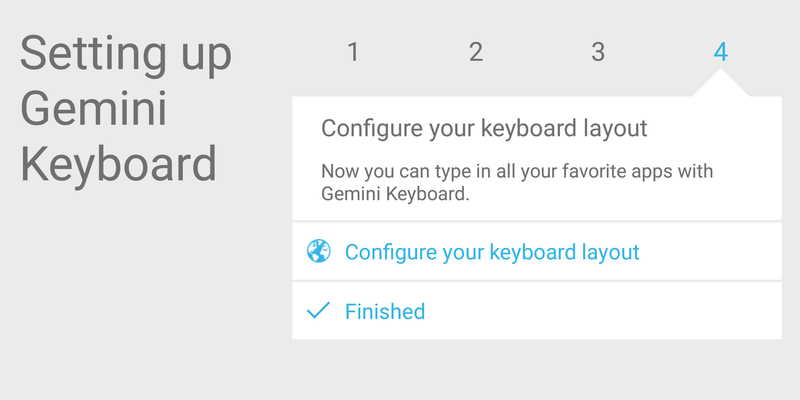
- Finally tap on Configure your keyboard layout to select the appropriate layout. Please make sure that you select a "Gemini Keyboard" and not an "Android Keyboard", otherwise some keys will not work as expected. See the first option in the following screenshot

- Congratulations, your language and keyboard layout has been successfully configured!


Boot mode options
Gemini supports a few boot mode options, based on the firmware you are using.
Android-only firmware
- Press Esc (On) for around one second to turn ON the unit and boot into Android.
- Press Esc (On) for around one second to turn ON the unit and at the same time press and hold the side button until the screen turns ON to boot in recovery mode. At this stage the recovery mode is disabled and you will see a droid image with a red triangle and a "No command" text.
Multi boot Android-Linux firmware (Sailfish OS + Debian options)
This is the new method used to boot different operating systems on the Gemini - see http://support.planetcom.co.uk/partitionTool.html.
When the Gemini is OFF, press Esc(On) key for around one second to initiate the booting process. Immeditately after that, the unit will vibrate, and after a few seconds the screen will turn ON. When the screen turns ON, the Gemini will check the status of the Esc (On) key and of the side silver button. Based on the status of those buttons there are 4 possible booting modes:
- Boot 1: This is the default booting option when no keys or buttons are pressed.
- Recovery Mode: Esc (On) is pressed. This will always boot into recovery mode.
- Boot 2: silver right-end side button is pressed.
- Boot 3: Both Esc(On) key and silver right-end side button are pressed at the same time
Keep the keys/buttons pressed until the screen turns ON.
Using the tool available at http://support.planetcom.co.uk/partitionTool.html you can customise what operating system to run when a specific boot mode is selected.
Dual boot Android-Linux firmware (Debian TP1 - deprecated)
This is the old method used in conjunction with Debian Technology Preview (TP1).
- Press Esc (On) for around one second to turn ON the unit and boot into Android. You should release the Esc (On) button before the screen turns ON, otherwise the unit will boot into recovery mode (see below).
- Press Esc (On) for around one second to turn ON the unit and at the same time press and hold the side button until the screen turns ON to boot into Linux. You should release the Esc (On) button before the screen turns ON, but you must keep the side button pressed until you see the turning ON. When the screen turns ON you can release the side button, and the unit will boot into Linux.
- Press Esc (On) and keep pressing the button until the screen turns ON to boot in recovery mode. At this stage the recovery mode is disabled and you will see a droid image with a red triangle and a "No command" text.
To force a restart if the unit is stuck in recovery mode or in fastboot mode press and hold the Esc (On) key and the side button and for about 20 seconds until you feel the gemini vibrate and booting.
Connecting Gemini to a PC for file transfer
To transfer files between a Gemini and a PC, just follow the following steps:
- Connect the PC to the left-hand side USB on the Gemini using the USB-C cable
- On the Gemini, scroll down from the top to reveal the notifications area. At the very bottom you will find the USB settings as in the following screenshot. Tap on the "USB charging this device" option


- Now simply choose the "Transfer files" option from the menu
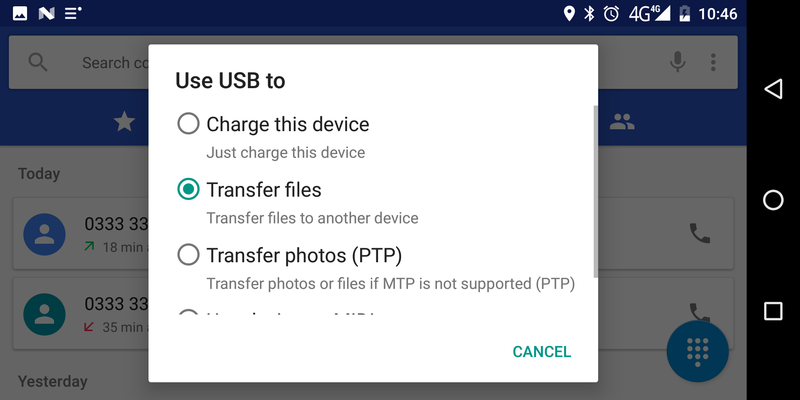
- Your Gemini is now connected to your PC in file transfer mode. Please note that for Mac OS systems you will need to download and use the Android File Transfer application.
